Blog
Building a DIY Garage for Your DRIVEN Toy Cars
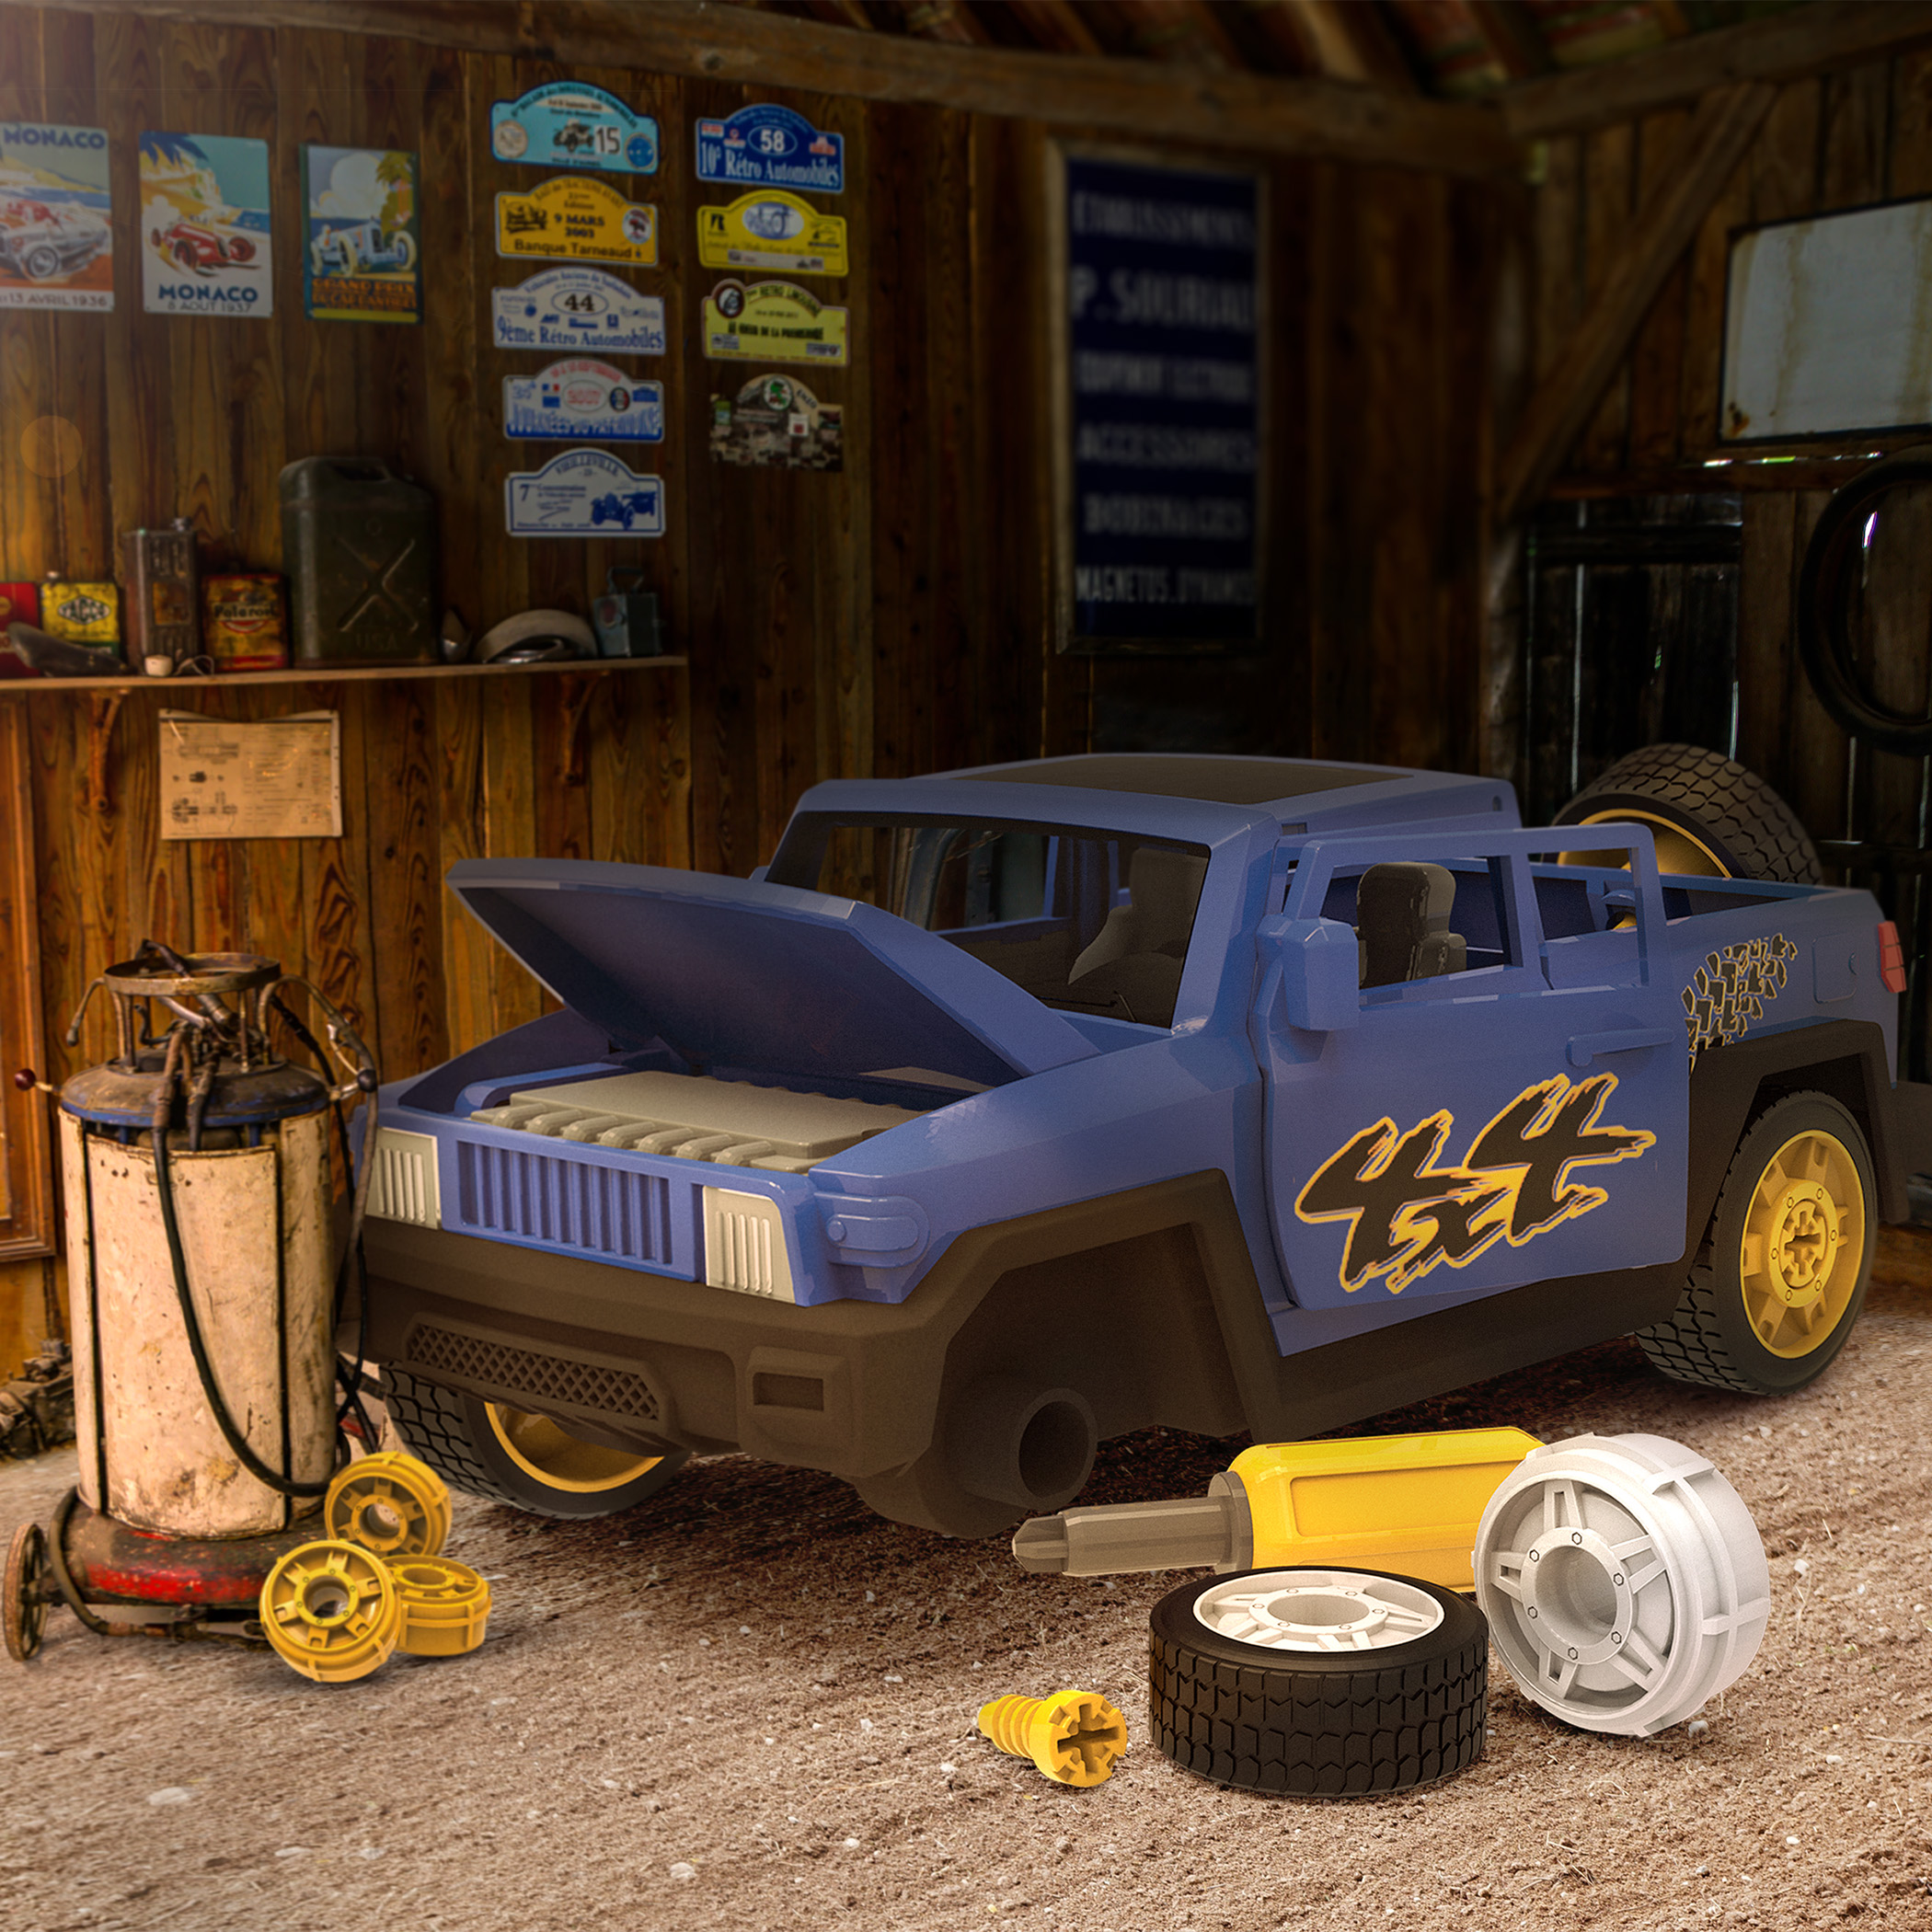
Playtime can be a blast! Enhance your kiddo’s fun by building a DIY garage for all their DRIVEN toy cars! This at-home project not only stimulates creativity but also gives your little ones a fun space for organizing toys.
Materials Needed:
Before we dive into the steps, let’s gather the necessary materials:
- Cardboard boxes (various sizes)
- A pair of safety scissors
- Ruler and pencil
- Glue gun and glue sticks
- Paint and brushes
- Decorative materials (stickers, markers, etc.)
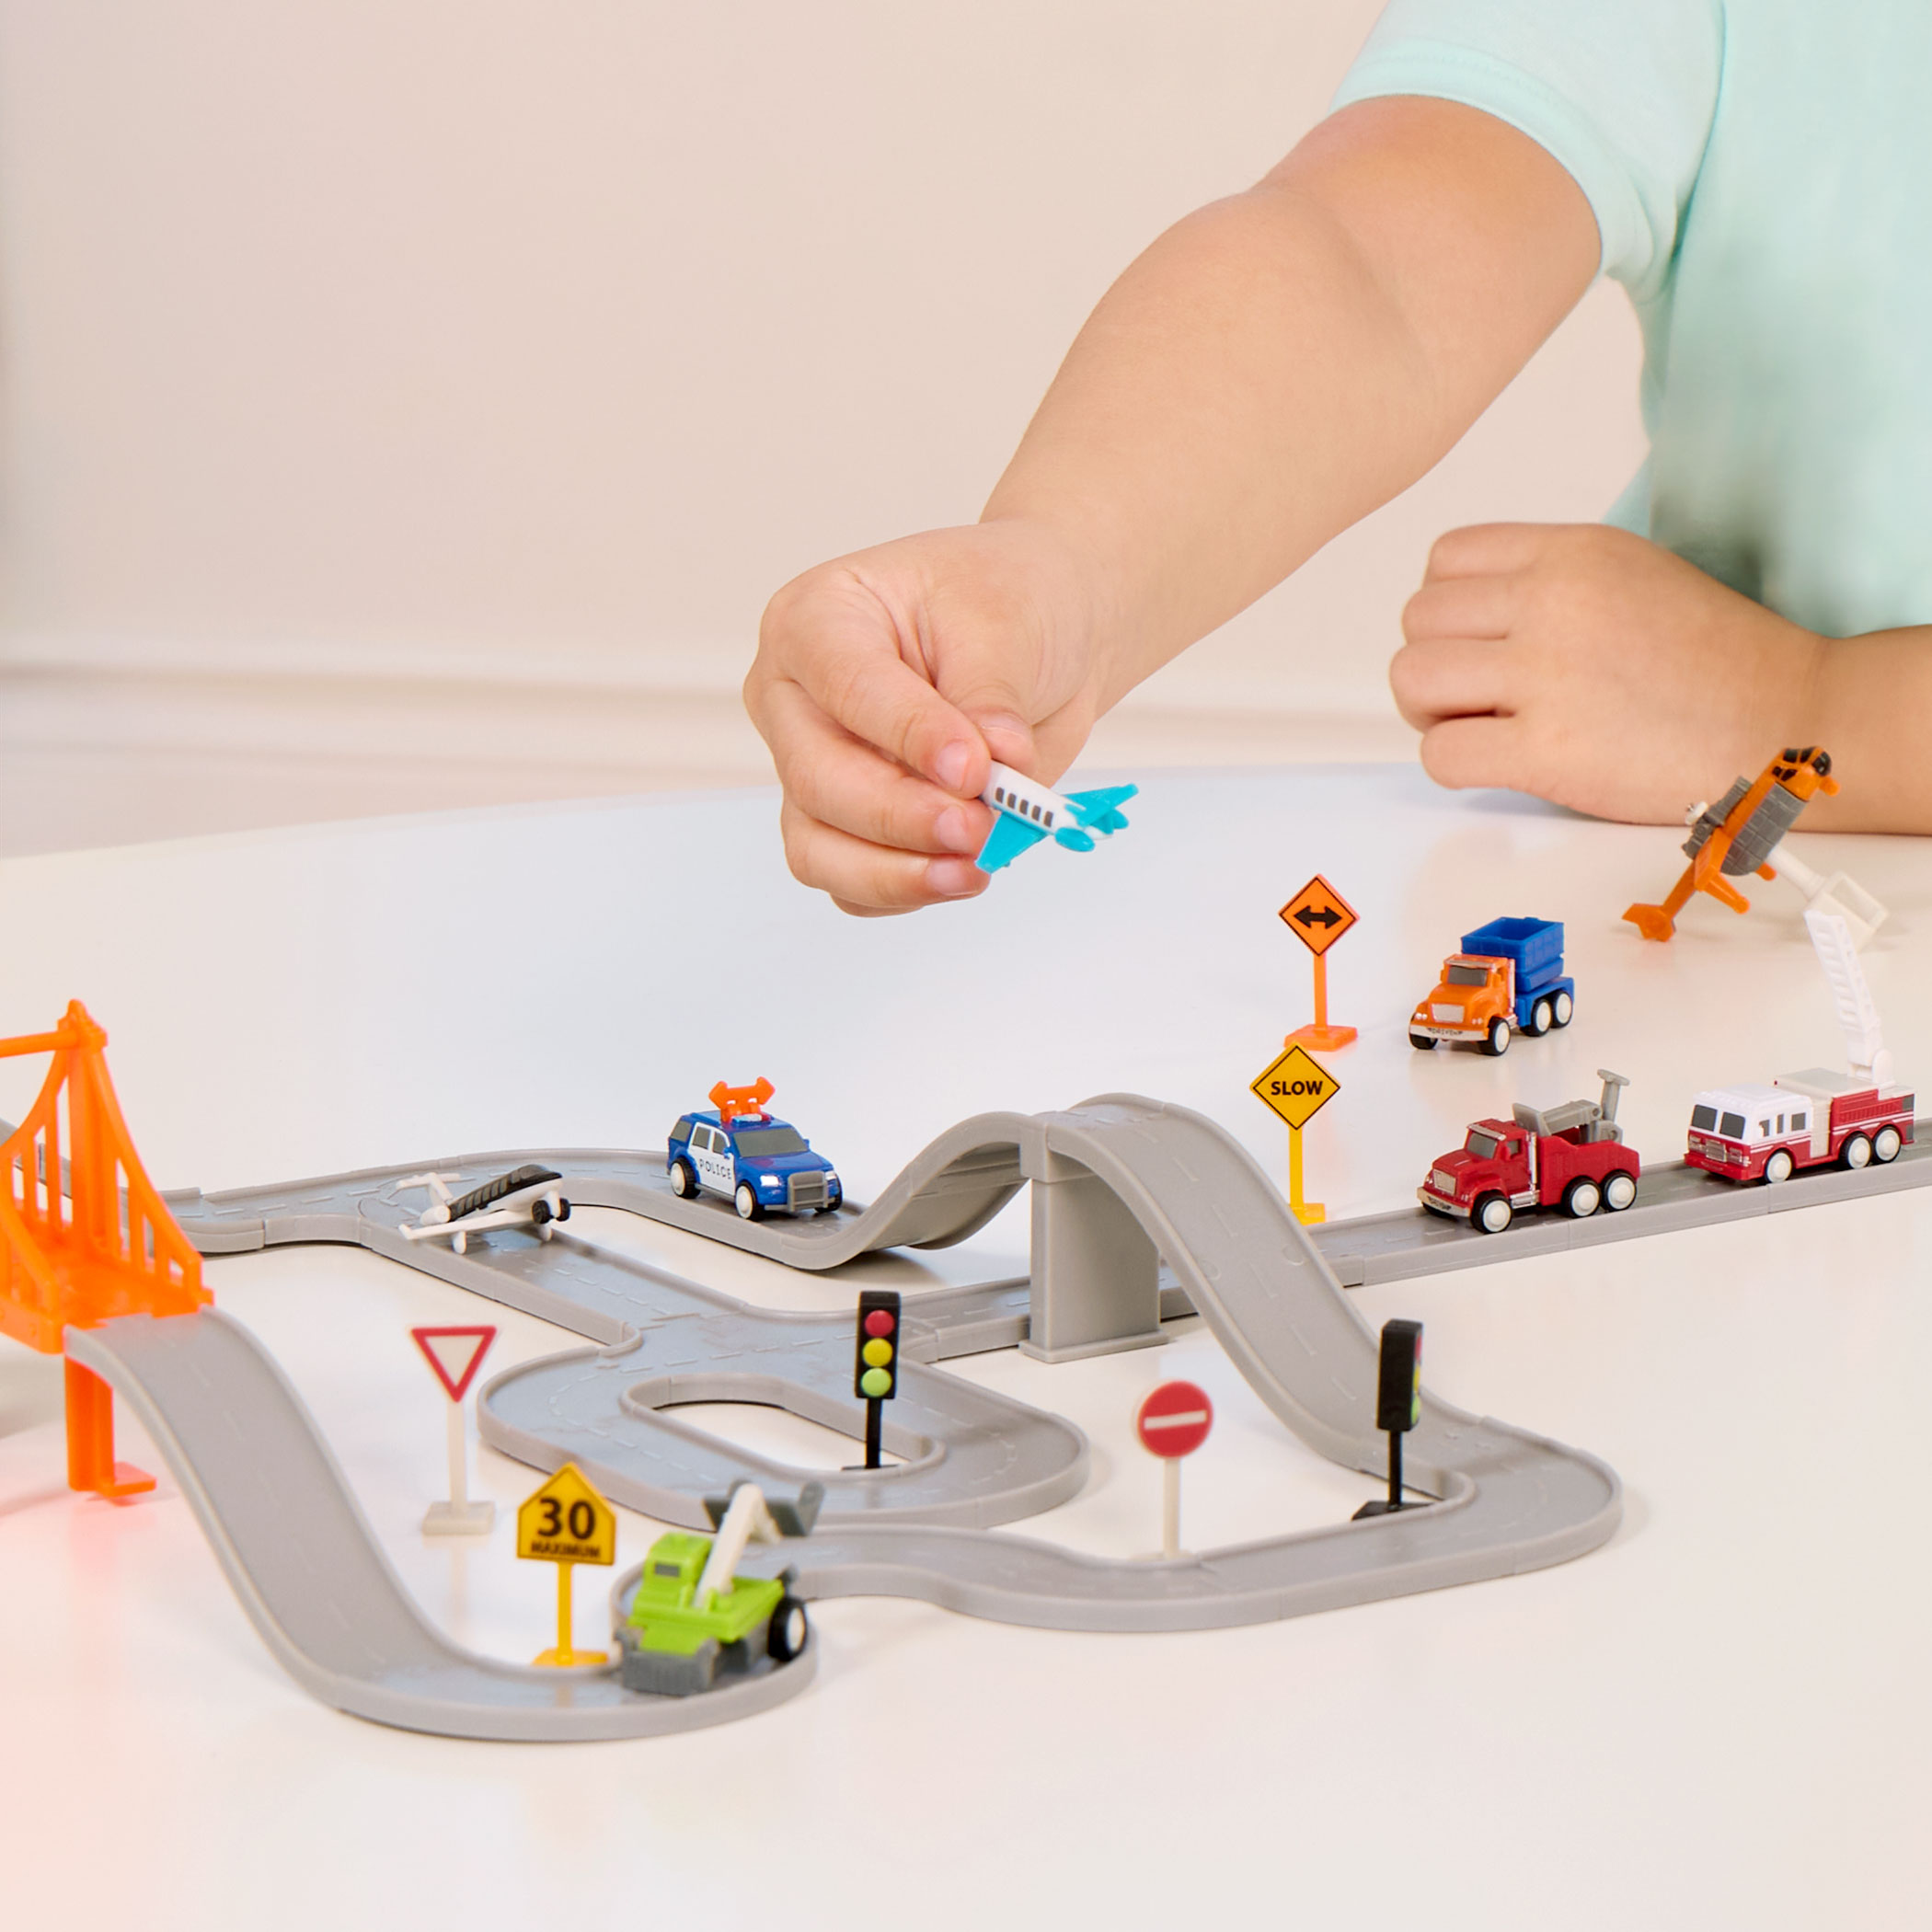
- Optional: toy car accessories (mini traffic cones, signs, etc.)
Step-by-Step Guide
- Design Your Garage Layout
Begin by planning the layout of your garage. Decide how many parking spotsspaces you want, and whether you’ll include bonuses like ramps, multiple levels, or even a car wash station. Sketch your design on paper to visualize the final product.
- Prepare the Cardboard
Use the ruler and pencil to measure and mark the dimensions of each part of your garage. For example, you might want a base of 24 inches by 18 inches, with walls and a roof to match. Carefully cut the cardboard using your scissors.
- Build the Base and Walls
Every building needs a base! Start by constructing the base of your garage. Glue the walls to the base, ensuring they are securely attached. Hold the pieces in place until the glue sets. Want more stability? You can reinforce the corners with additional pieces of cardboard.
- Create Parking Spaces and Levels
Now it’s time to create space for spaces for your DRIVEN companions! Divide the interior space section into parking spots using strips of cardboard. Glue these strips to the base. If you’re adding multiple levels, cut and attach ramps to allow cars to move between floors. Secure the upper levels to the walls and support them with additional cardboard columns if needed.
- Roof and Doors
Cut a piece of cardboard for the roof and glue it to the top of the walls. For a more realistic touch, create garage doors using smaller pieces of cardboard. Attach these doors with small pieces of tape or glue so they can open and close.
- Decorate Your Garage
Once the structure is complete, it’s time to paint and decorate! Let your kiddo choose their favorite colors and designs. Use markers, stickers, and other decorative materials to jazz up the garage. Add details like parking lines, numbers, and traffic signs to make it lifelike and engaging!
- Learning Elements
Boost learning by incorporating educational elements! Use the opportunity to teach kids about road safety, traffic rules, and car maintenance. You can add a mini car wash station, a gas pump, or even a service area where kids can pretend to fix their cars.
Playtime Ideas
- Role-Playing Scenarios
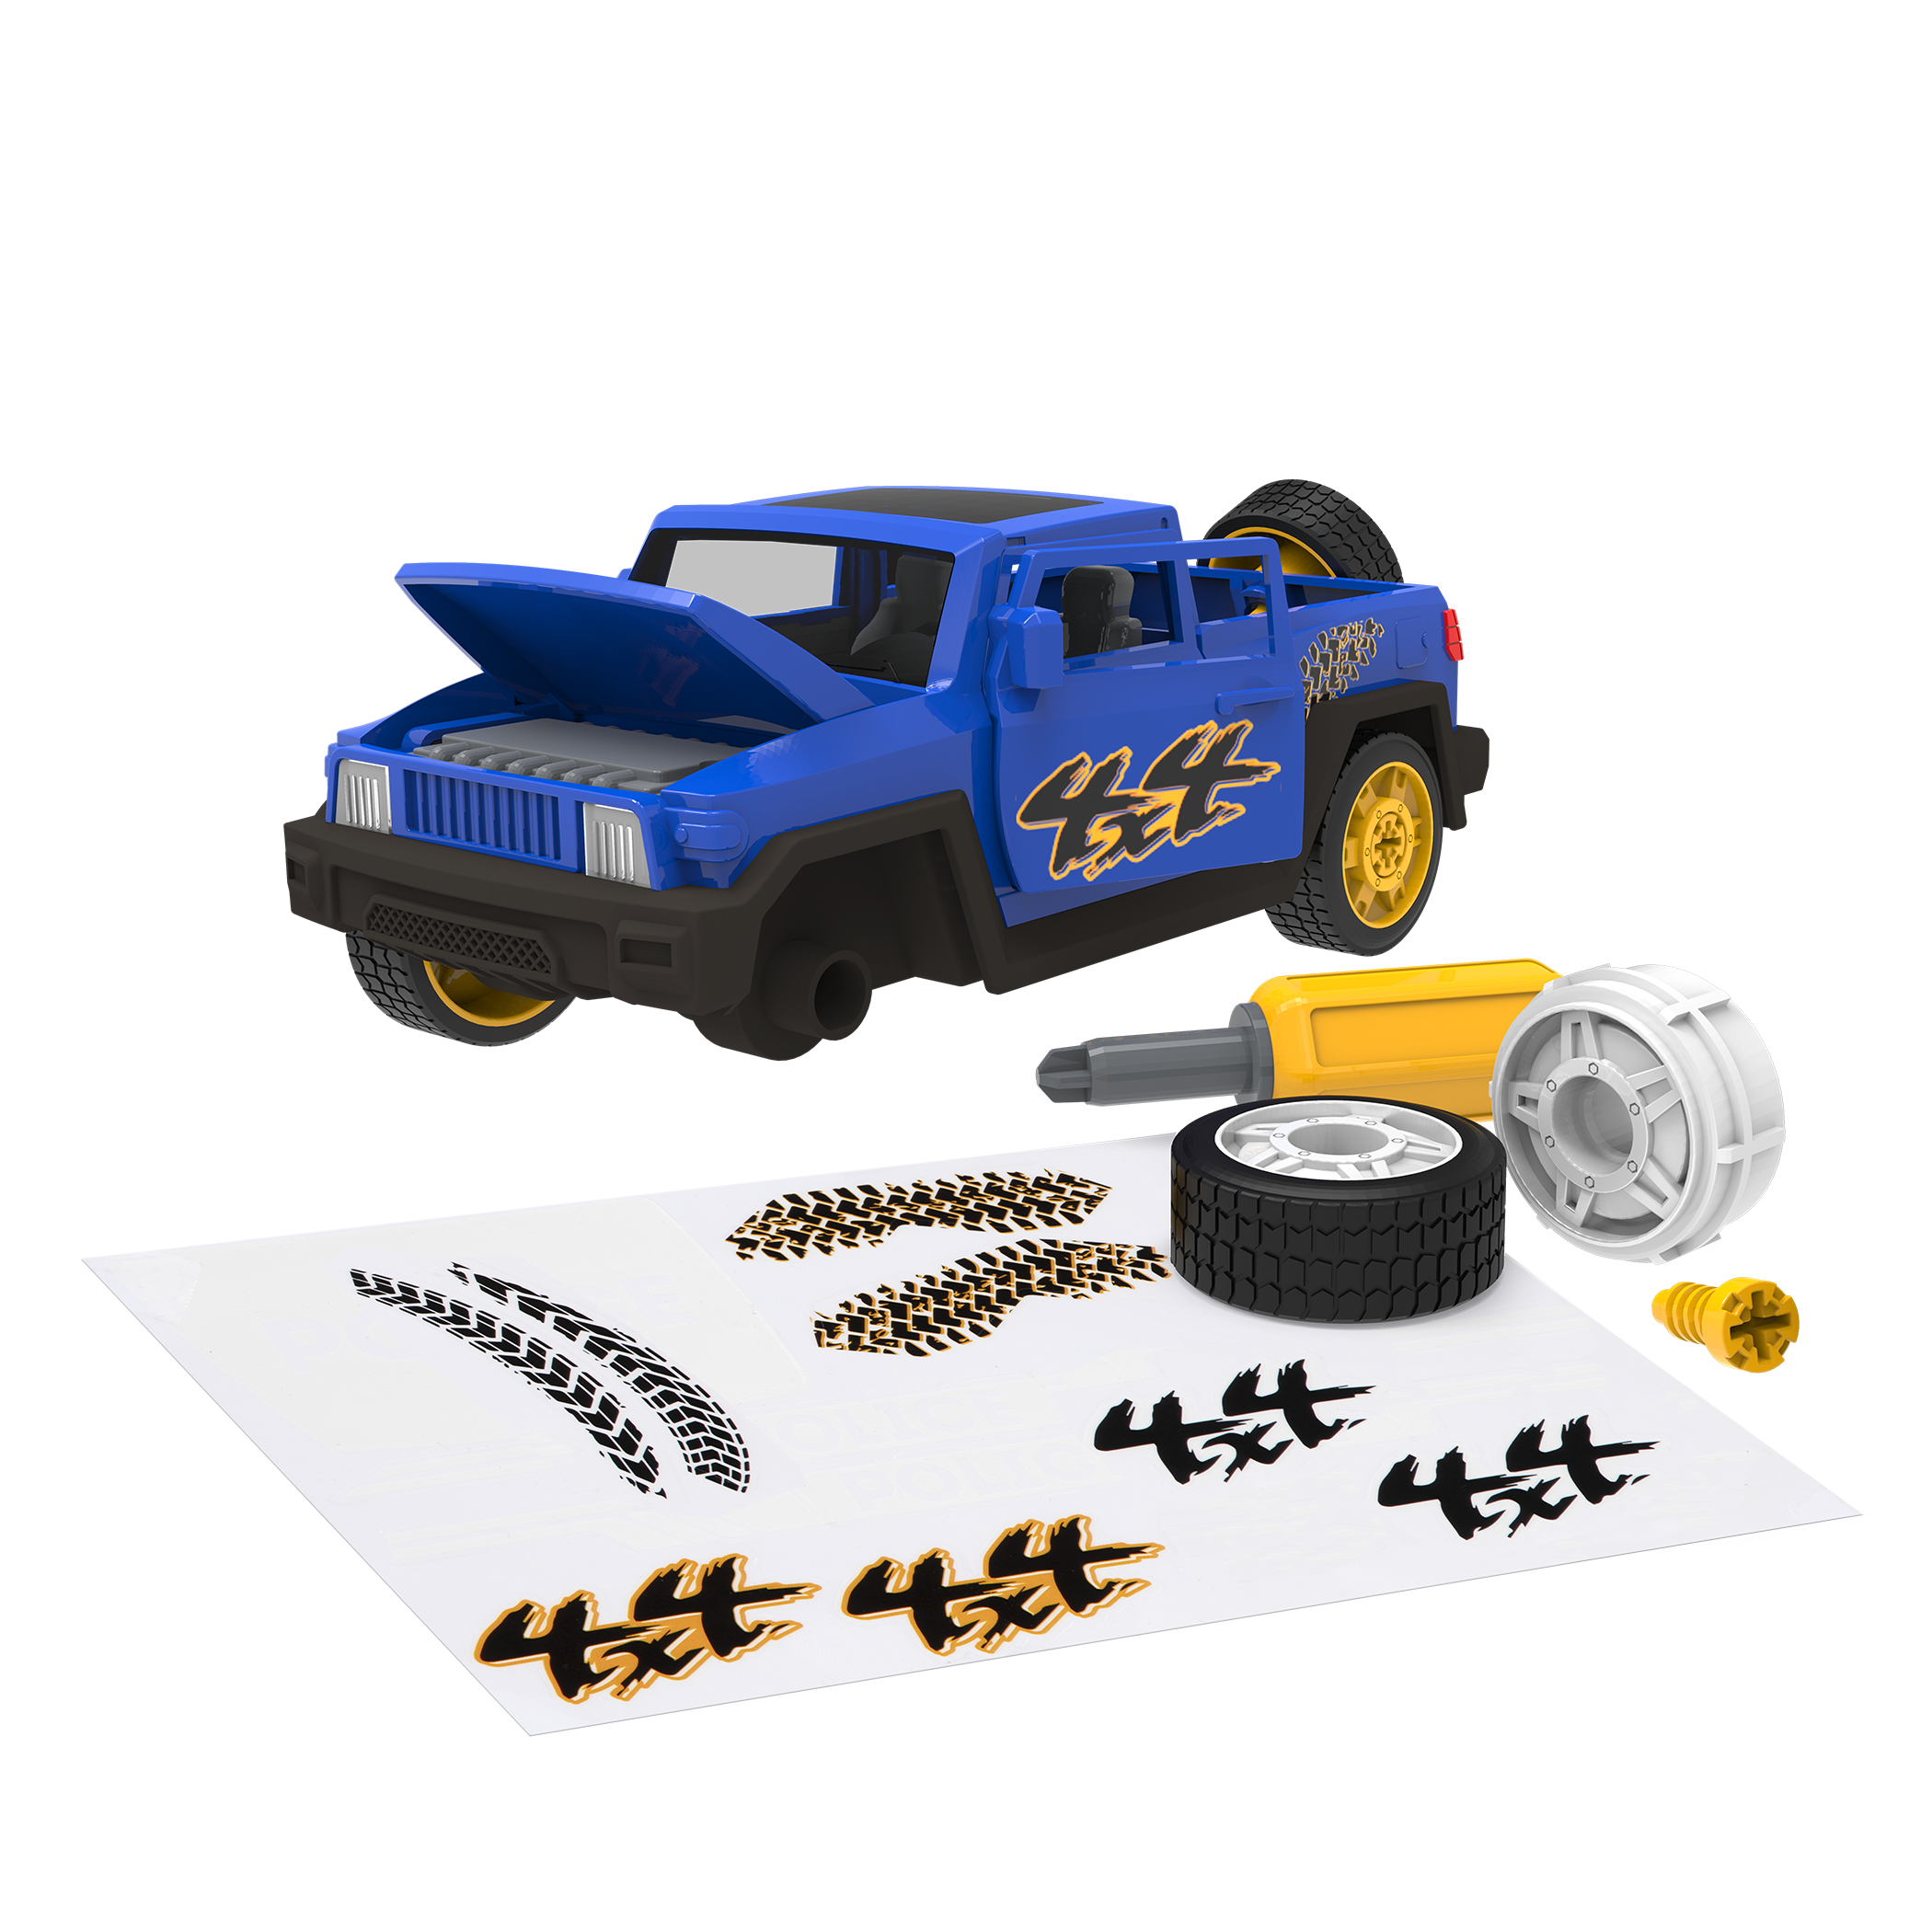
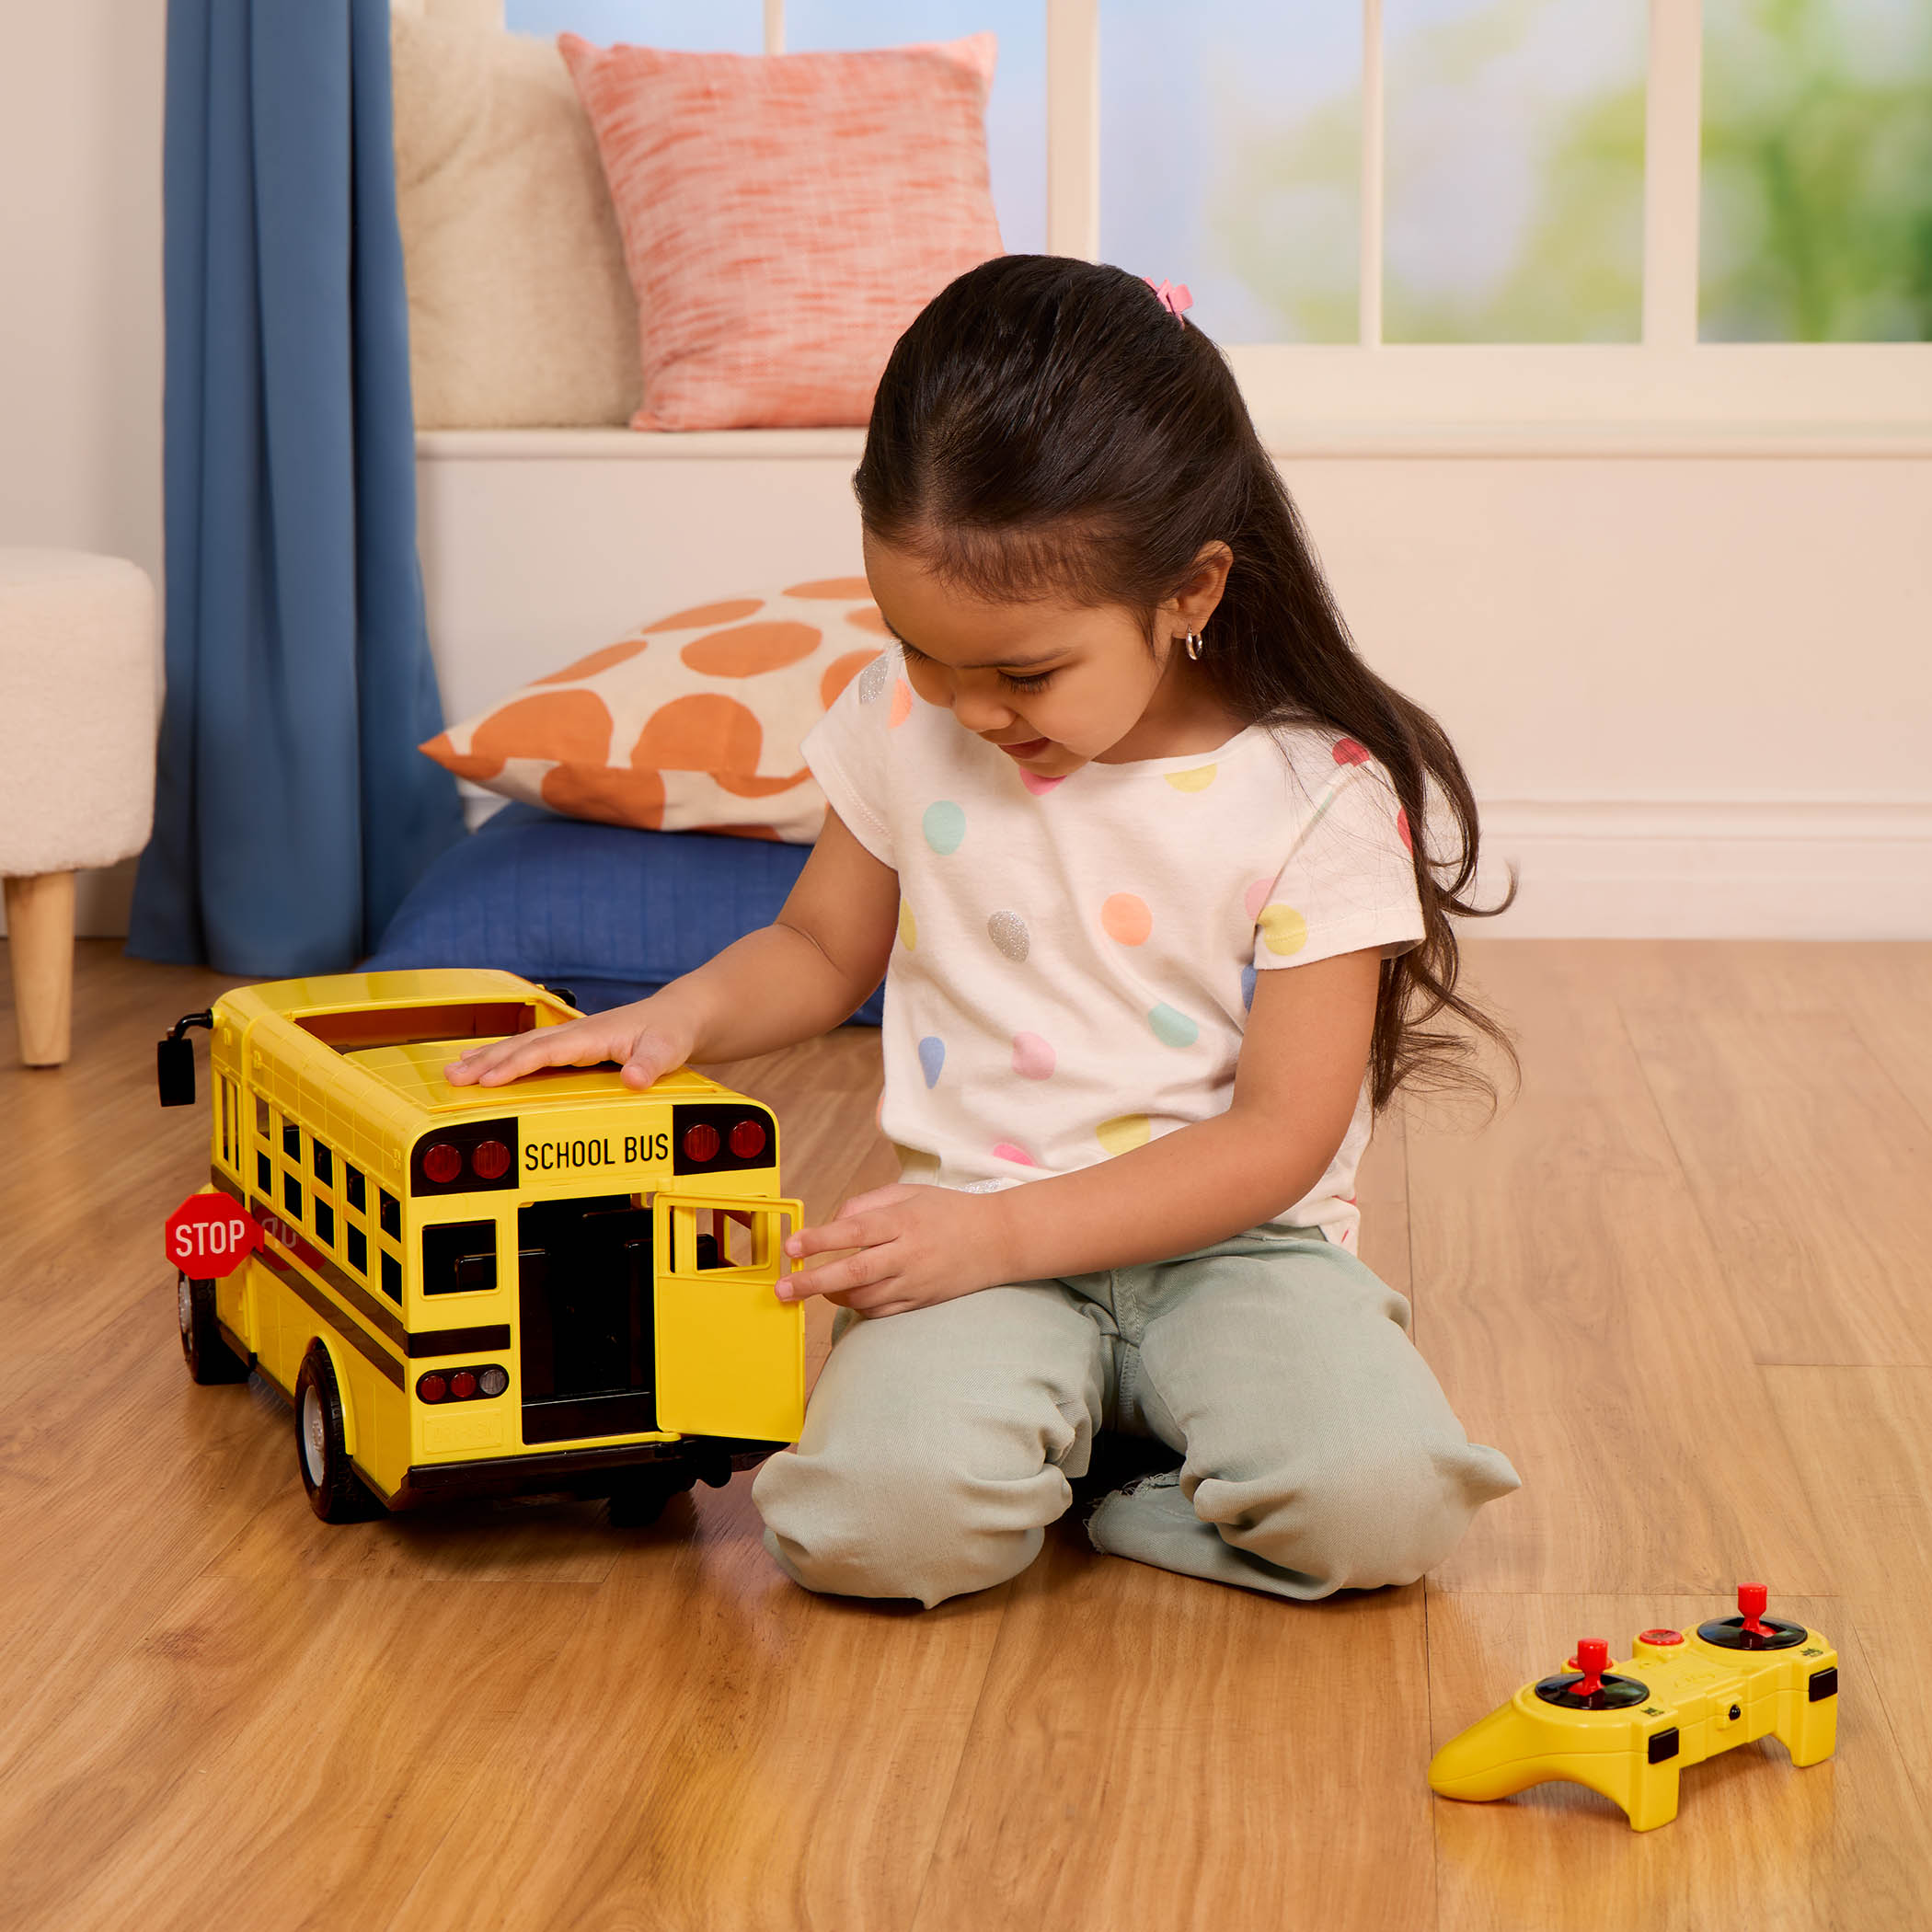
Encourage your child to create different scenarios, such as parking, refueling, or fixing up their DRIVEN Take-Apart cars! This imaginative play helps develop their storytelling skills and understanding of real-world processes.
- Learning Road Safety
Use the garage setup to teach them
about road safety. Explain the importance of stopping at red lights, looking both ways before crossing, and yielding to pedestrians. Incorporate toy traffic signs and signals to make the learning experience more engaging.
- Organizing and Tidying Up
The garage can teach your little one about organization and responsibility. After playtime, encourage them to park their toy cars neatly in the garage, fostering a habit of tidiness.
Building a DIY garage for your DRIVEN toy cars is super fun and creative! It gives your cars a cool home and lets you use your imagination.
Plus, making it yourself helps you teach little ones new skills while having fun! So grab some materials, get creative, and watch your playtime become even more awesome with your very own toy car garage!
